
HOW TO USE Reposting Module on NecroMancer
REPOSTING MODULE DETAILS
How Reposting Module Works:
The Scraper Module of NecroMancer does the scraping work as per the set settings.
After that is done, it schedules a certain amount of scraped posts at one place, ready to be posted. Which will later be used by the Posting Module for Posting when the right time comes.
NecroMancer Scraper Module uses this location for scheduling those posts:
“C:\Users\<YourPcUsername>\NecroMancer IG\reposting\<YourIgAccountUsername>\”
For Example: “C:\Users\yadav\NecroMancer IG\reposting\realeternalbulker\” (see image)
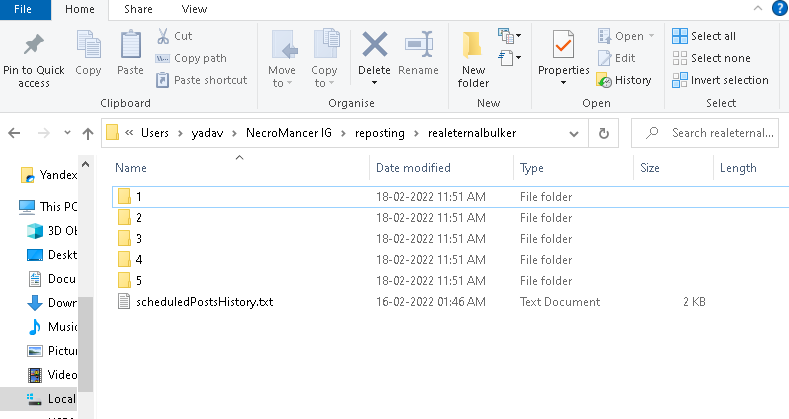
The Posting Module also uses this location for taking posts for posting on the IG account. The posts are picked from here in alphabetical order. (Those each folder is treated as individual posts)
For example, in the above image, post “1” comes 1st in alphabetical order, which means, it’ll be posted 1st. And then next time post named “2” will be posted, and after that post named “3”, and so on.
A few people inquired about only using the posting functionality of it (by manually setting the posts for posting) without the scraping part.
Here’s how to do it:
1st to disable scraping part, disable “601. Enable Post Scraping” Setting, it’ll disable all the scrapings and other scraping-related settings. And enable the “602. Enable Post Posting” setting in the dashboard, and set the posts that are to be posted, at the above location.
[ In there, you can ignore the “scheduledPostsHistory.txt” file. As that is only used by the Scraper Module to keep a history of all the past scraped and scheduled Posts (To avoid scraping/scheduling of the same posts again). ]
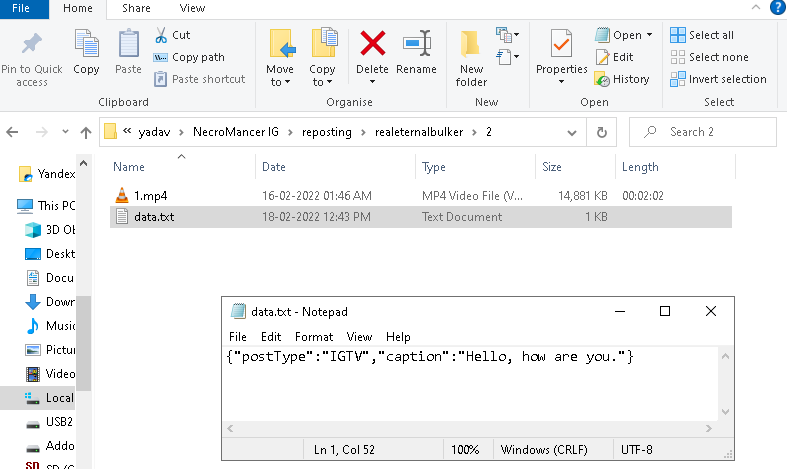
To manually set those posts, this is the format:
1st we put the image or video etc for the post in those folders (folders in the above image)
And specify the post Type and Post Caption there inside the file named “data.txt”, in the format: {“postType”:”REELS”,”caption”:”Hi, how are you.”}

Supported values for “postType”: IMAGE, VIDEO, CAROUSEL, REELS, IGTV.
“caption” can have any value, needed in the caption for your post. [It also supports Spintax]
Different postTypes Example Screenshots:


NOTE: for CAROUSEL Posts, the order of the images in the carousel is again determined alphabetically.
For example, the above post (in the above image) will post a carousel post with 1.jpg as the 1st image, 2.jpg as the 2nd image, and so on, in that carousel post.
———
Currently, how many posts get posted each day are determined by this setting:
“610. Post This Many Posts Per Day (Min)” and “611. (Max)”
And this setting determines the wait time between each of those posted posts in that day.
“609. Minimum Delay Between each Post (in Minutes)”
HOW THE WORKFLOW WORKs, is that when that account’s (/slot’s) start time is reached, and the 1st session of that day starts, it posts the 1st post in that session. Then waits for the set time (“609. Minimum Delay Between each Post”), then when the next session starts after that much time, the next post gets posted in that session (if more than 1 posts are to be posted in that day (setting 609 and 610)).
NEW UPDATES:
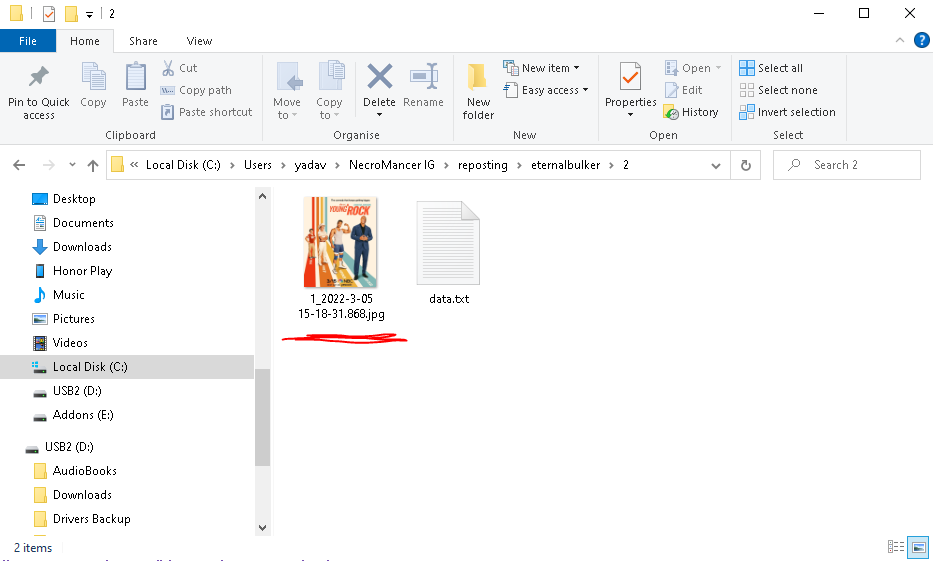
1: IMPORTANT!!: On many phones, it has been found that their Pictures can’t hold more than 1 image or video with the same name.
So, if you’re manually scheduling posts, please make sure that the post names are unique. The easiest way to make sure of this is to add the current date and time to their name (after an underscore “_” ) as shown in the below image (1_2022-3-05 15-18-31.868.jpg) :
2: NOTE: If you want to use quotation marks in the caption, then please read the below important info:
But this below one will fail:
update: all the above quotation marks in these above examples seems to be getting auto-changed by WordPress to that of the 2nd type I mentioned above (the special type, like the smiley category). If you’re copy-pasting, then make sure to edit them appropriately (by manually replacing them by typing from your keyboard) to the 1st type, especially the quotation marks used for formatting.)